The Buzz on Sunshine Coast Timber Floors
How Timber Flooring can Save You Time, Stress, and Money.
Table of ContentsEngineered Hardwood Flooring Near Me Things To Know Before You BuyThe Greatest Guide To Timber Flooring Sunshine CoastFascination About Sunshine Coast Timber FloorsThe Hardwood Timber Flooring IdeasSunshine Coast Timber Floors Things To Know Before You Get ThisHardwood Timber Flooring Can Be Fun For Everyone
Each type of flooring specifies suggested temperature level problems, typically situated on the box, on installment directions inside or on the brand's internet site. Some floor covering suppliers will certainly call for a room, and the floor itself to maintain temperature and family member moisture requirements throughout the whole installation process.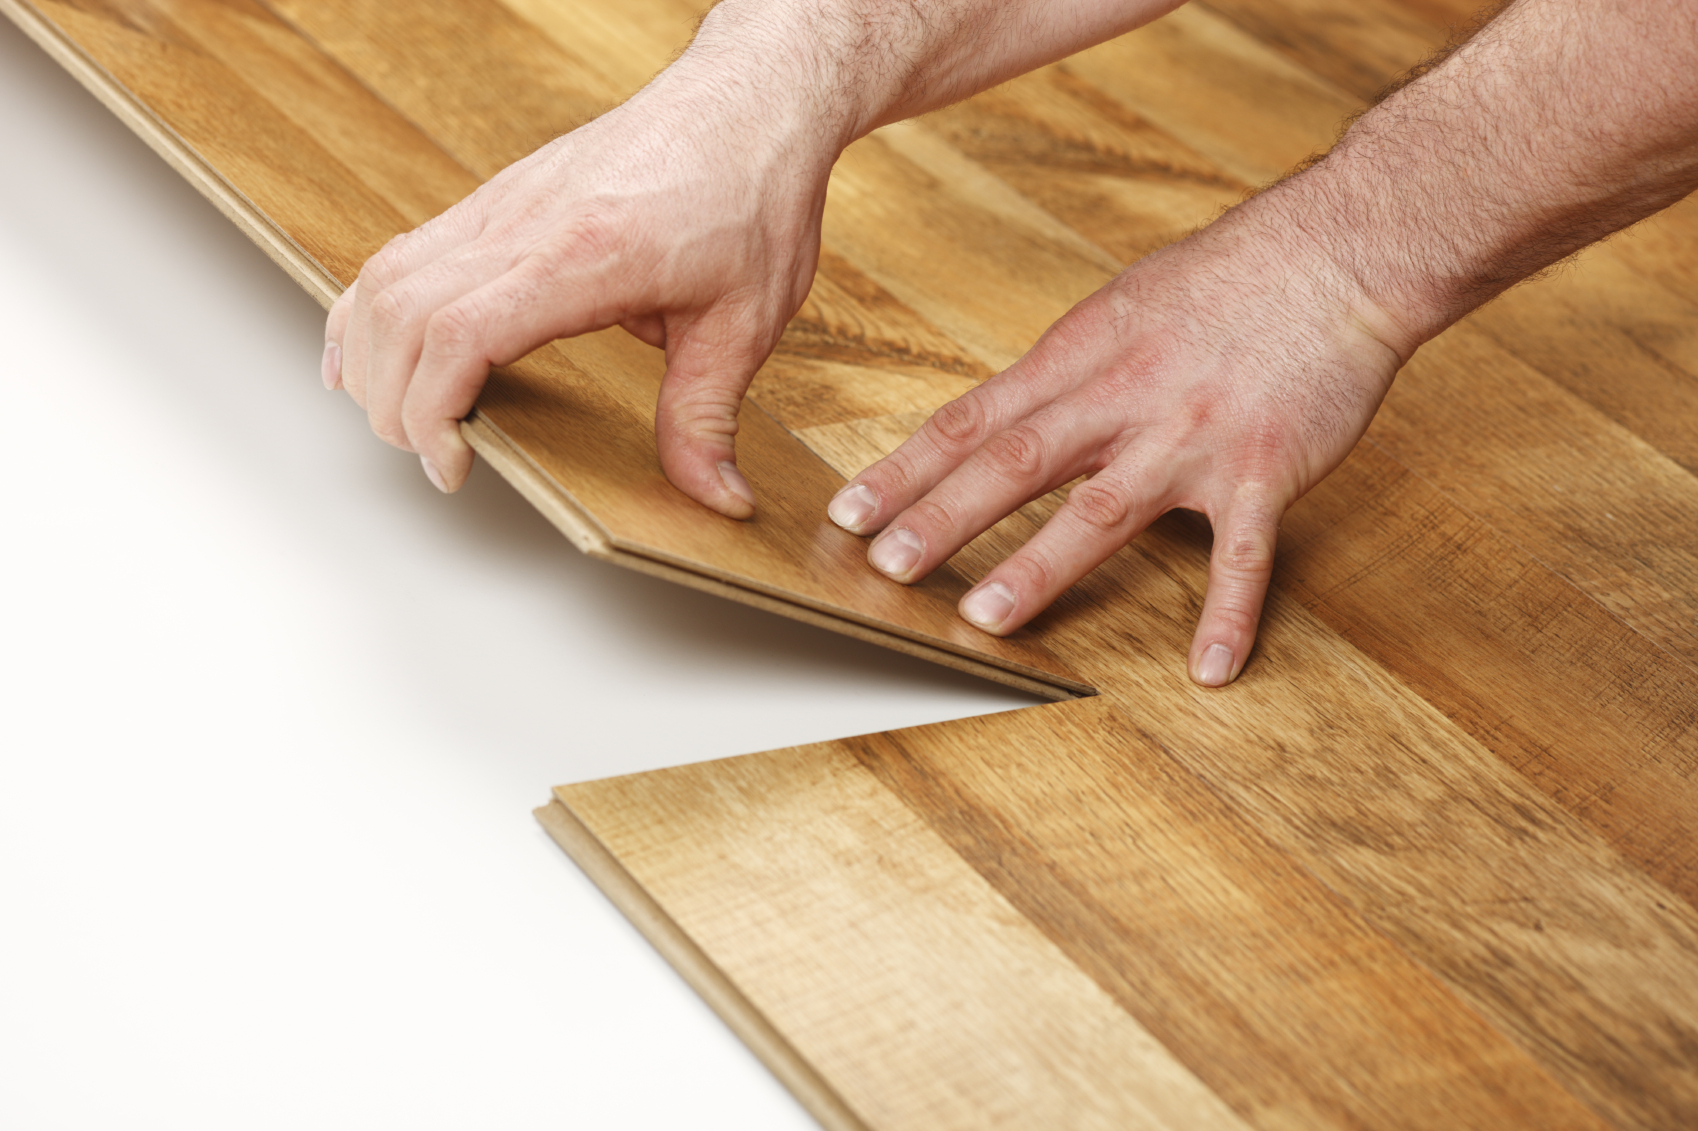
Whether you're looking to self-install new floor covering or you want some aid, you won't desire to miss this overview. The appropriate flooring includes feature and charm to your home.
Some Ideas on Timber Flooring You Need To Know
You need to also intend to pick flooring that aligns with the building design of your home. Think about the amount of foot web traffic your floorings will certainly get and that will be strolling on them.
You're looking at a large range of costs. If you have a little even more cash to spend, you can look into wood or ceramic tile choices.
When you've tightened down your listing, it's time to look into installation choices. Here are some typical types of floor covering and best practices for mounting each of them.
The Only Guide for Sunshine Coast Timber Floors
Look to supplier instructions for guidance on that front. Prepare the subfloor ahead of time.
Figure out the sealing and trim included with your installment. This will certainly also depend on the building and construction of your home and the type of flooring you are laying.

The Greatest Guide To Flooring Sunshine Coast
Set up the baseboard and shoe molding to cover the development space. Mount threshold or transition strips where the edge of the floor is subjected. Straighten the first board with the format line. Have the tongue face into the space (timber flooring sunshine coast). Put a 3/4-inch spacer versus the adjoining wall surface and slide the end of the board versus it.
Leave a 3/4-inch development gap in between the end board and the wall. Surprise completions of the boards in adjacent rows by 6 inches. When you reach the last row, cut the boards to size and set them in position. Fill any kind of visible holes with timber filler. Mount the wall and shoe molding to cover the expansion space.
Suggestion the end of your following ceramic tile in at an angle so it straightens with the previous one. Angle the long side of the ceramic tile into the groove of your previous floor tile. As soon as your existing floor tile matches the previous one, tap it with your mallet to lock the floor tiles together.
Getting My Hardwood Timber Flooring To Work
Rock tiling boasts a much more natural appearance than ceramic or vinyl tiling. Stone floor tiles are additionally a little more brittle, suggesting they may chip much more conveniently than other kinds of ceramic tiles.
This will certainly create quadrants for you to work your means right into. timber flooring sunshine coast. Lay your floor tiles out completely dry to see what the last item will look like.
If required, reduce your boundary tiles to fit the sides of your quadrants. As soon as you're delighted with the layout, get rid of the floor tiles and spread the mortar out with a trowel.
The Ultimate Guide To Engineered Hardwood Flooring Near Me
Location a spacer right into the void and after that put down your following floor tile. Make sure each ceramic tile is level. Completion of each row likely will not have adequate space for a full ceramic tile. Thoroughly determine tiles and reduce them to fit these voids. Push cement right visit site into the joints of each floor tile.
Sponge the deposit off each ceramic tile and use a grout sealant. Lay and cut the continuing to be sections so they cover the whole flooring.